
A rebar lap splice is where two bars overlap for a specified length so that force can pass from one bar to the next through the surrounding concrete. How long that overlap must be depends on the development length of the bar, which ACI 318 calculates from the bar size, steel grade, concrete strength, cover, spacing and other factors. Hooks shorten the straight length a bar needs when there is no room to extend it.
These three ideas, splices, development length and hooks, decide whether a reinforced concrete element performs the way the engineer designed it. They are also where many field questions start, so it pays to understand them even if you never run the calculation yourself.
Key takeaways
- Development length is how far a bar must be embedded to reach its full strength.
- A rebar lap splice length is based on development length, usually longer for tension than compression.
- Standard hooks (90 and 180 degrees) let a bar develop strength in a shorter space.
- Mechanical couplers replace laps where congestion or bar size makes laps impractical.
- The project’s splice table and general notes are the reference for the detailer, not rules of thumb.
Development length in plain language
Steel and concrete work together because the concrete grips the ribs of the bar. If a bar is pulled, that grip has to resist the pull along a certain length before the bar reaches its full strength. That length is the development length.
Several things make it longer: bigger bars, higher steel grades, lower concrete strength, small cover, tight spacing, top bars with a lot of fresh concrete below them and epoxy coating. The code requirements are in ACI 318, published by the American Concrete Institute, and most engineers translate them into a splice and development table on the general notes.
How a rebar lap splice works
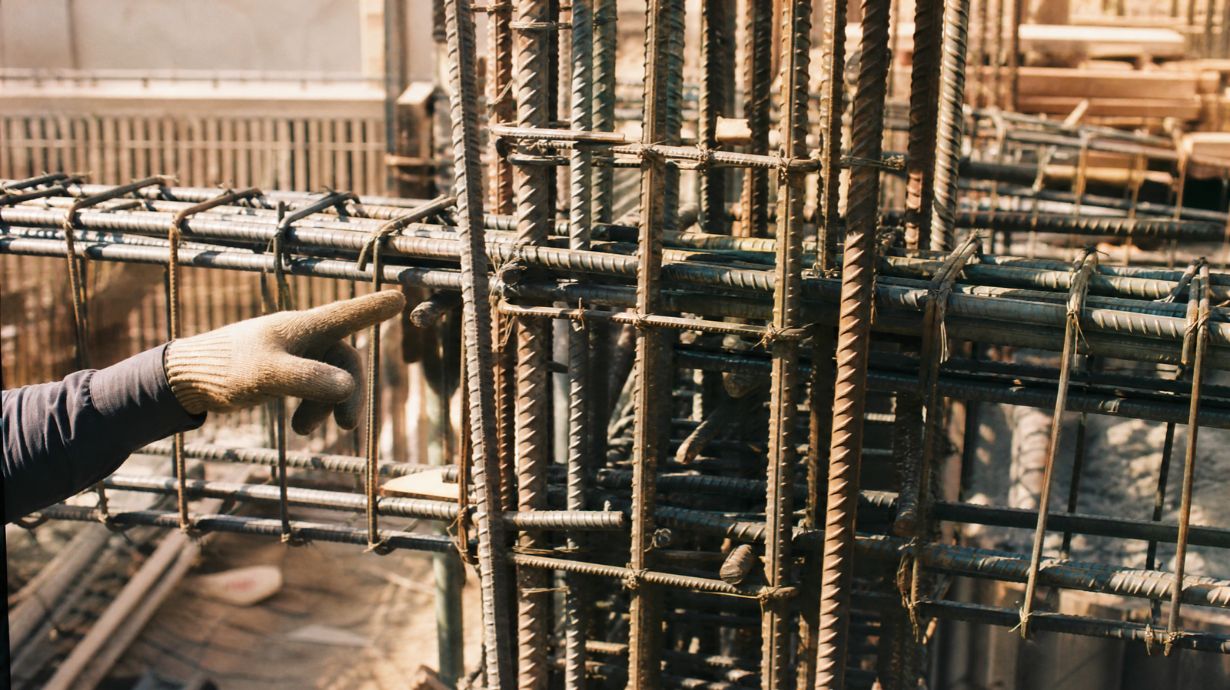
A lap splice simply overlaps two bars. The force travels from the first bar into the concrete and from the concrete into the second bar. For that to happen, the overlap has to be long enough and the concrete around it has to be well confined.
Tension and compression splices
Tension splices are the common case in beams and slabs. ACI 318 defines Class A and Class B tension lap splices; Class B, the one most often required, is 1.3 times the tension development length. Compression splices, typical in columns, follow a separate set of requirements and are often shorter.
Where splices should go
Engineers usually want splices away from points of maximum stress and staggered so they do not all fall at the same section. In walls and columns, splices often sit just above each floor, where the crew can tie the next lift. The general notes or details will show where splices are allowed.
Standard hooks and seismic hooks
When there is not enough room to extend a bar straight, a hook does the job in less space. ACI 318 defines standard 90-degree and 180-degree hooks with minimum bend diameters and tail extensions. Ties and stirrups in seismic elements usually need 135-degree seismic hooks that wrap around a longitudinal bar and point back into the core.
Hooks look simple on paper and get tricky at joints, where several hooked bars meet in the same small volume. That is one reason detailers draw congested joints at large scale.
When to use mechanical couplers
- Large bars. ACI 318 does not allow lap splices for bars larger than #11 except in specific cases, so larger bars are coupled or welded.
- Congestion. Laps double the steel at the splice; couplers keep it to one bar.
- Construction joints. Couplers let a crew leave short bar stubs at a joint instead of long projecting laps.
- Specified performance. Some seismic elements require Type 2 mechanical splices at certain locations.
How this shows up in rebar detailing
The detailer’s job is not to calculate development lengths from scratch, but to apply the engineer’s criteria consistently: the right lap for each bar size and location, splices in allowed zones, staggering where required, hooks with the correct geometry and couplers where specified. That information ends up on the placing drawings and in the bending dimensions of the bar list for each pour.
It is one of the steps described in our rebar detailing guide for U.S. projects, and it is a common source of review comments when splice tables and drawings disagree.
Questions to clear up before detailing
| Question | Why it matters |
|---|---|
| Is there a splice table for every bar size and concrete strength used? | Avoids guessing lap lengths |
| Are top-bar and epoxy factors already included? | Prevents laps that are too short |
| Where are splices permitted in beams, walls and columns? | Keeps splices out of critical zones |
| Are mechanical couplers allowed or required, and which type? | Affects bar lengths and purchasing |
| Which elements need seismic hooks? | Changes the shape of every tie |
Getting these answers early, through RFIs, is far cheaper than fixing laps on the deck. Our team applies these criteria every day when we prepare placing drawings for concrete contractors.
Frequently Asked Questions
How long should a rebar lap splice be?
It depends on bar size, steel grade, concrete strength, cover, spacing and location. The project’s splice table, based on ACI 318, gives the required length for each case.
What is the difference between development length and lap length?
Development length is the embedment a single bar needs to reach its strength. Lap length is the overlap between two spliced bars, usually based on the development length times a factor.
Can lap splices be used for all bar sizes?
No. ACI 318 restricts lap splices for bars larger than #11, which are normally joined with mechanical couplers or welding.
What is a seismic hook?
It is a hook with a bend of at least 135 degrees used on ties and stirrups in seismic elements, so the bar stays anchored in the concrete core during an earthquake.
Who decides where splices go?
The Engineer of Record sets where splices are allowed. The detailer places them within those zones and in a way the crew can build.