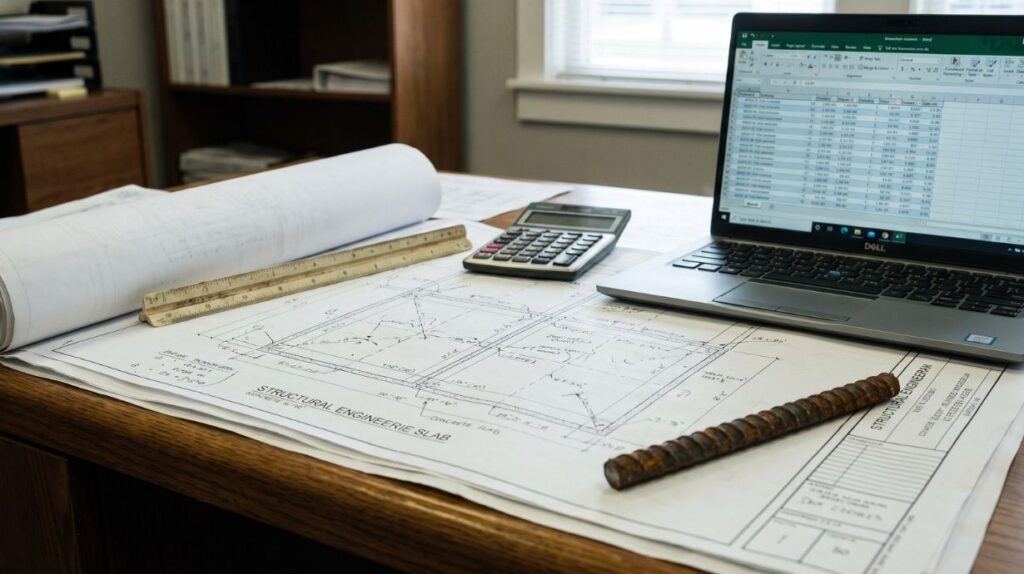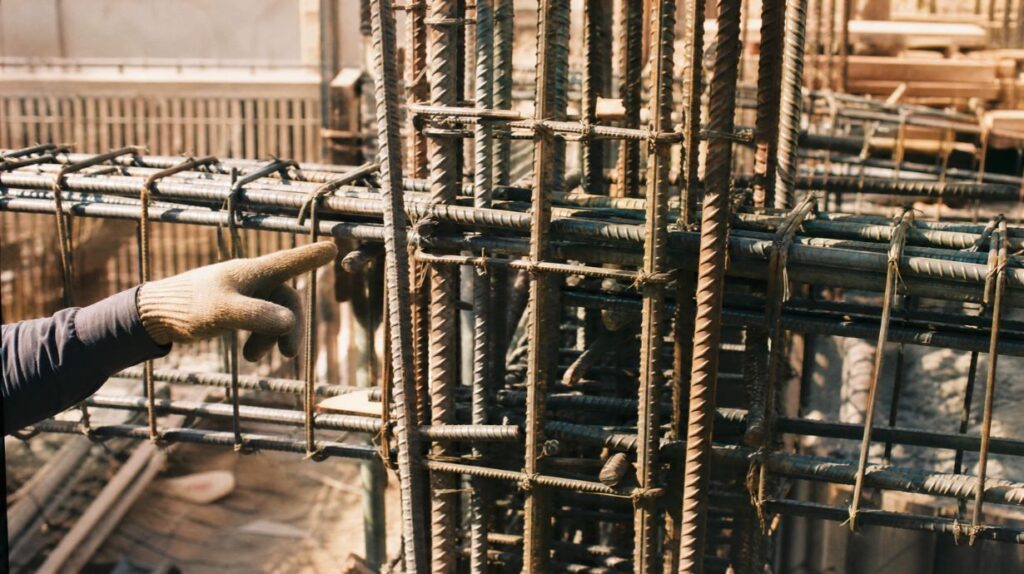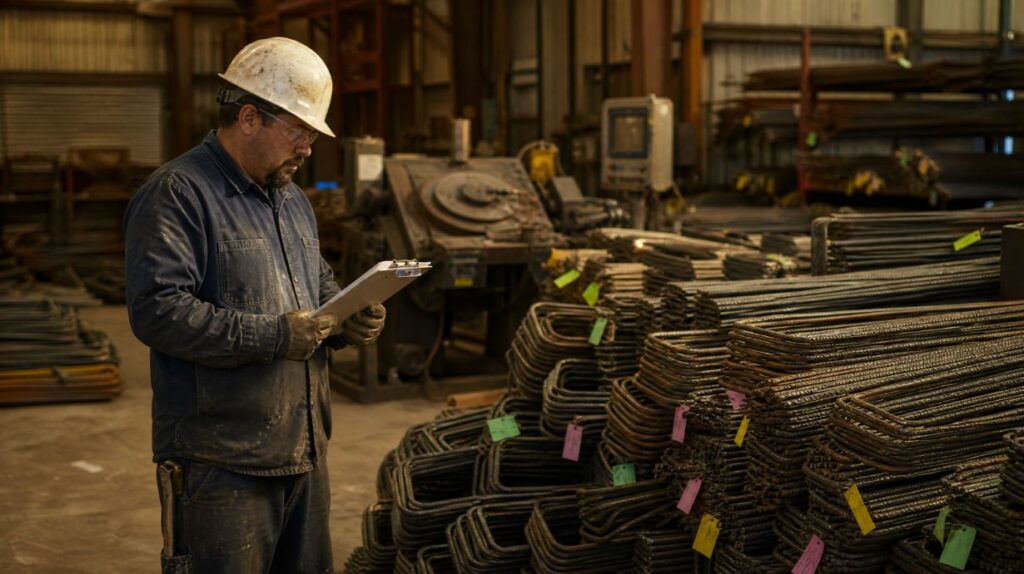

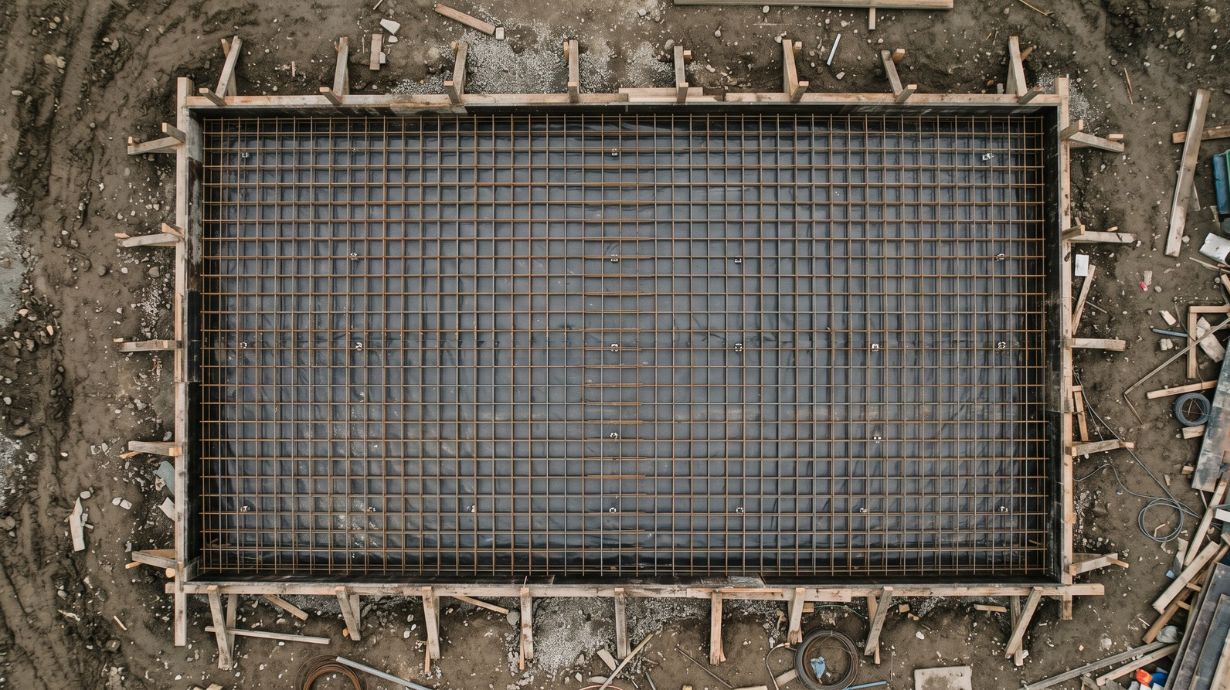
The most common rebar detailing mistakes are wrong cover, laps that do not match the splice table, bars that do not fit congested joints, conflicts with embeds and sleeves, quantities that do not match spacing, missing revisions and packages that ignore the pour sequence. Almost all of them can be caught at the desk with a second set of eyes and a simple checklist.
None of these errors look dramatic on a drawing. They show up on site, when an inspector measures cover, when a bundle does not fit or when the crew runs out of a bar mark halfway through a pour. Here are the nine we see most often in reviews, why they happen and how to catch them early.
Key takeaways
- Most rebar detailing mistakes come from missing coordination, not bad drafting.
- Congested joints and embeds are the riskiest areas of any package.
- A separate checker finds what the detailer no longer sees.
- Organizing the package by pour prevents shortages and wrong deliveries.
1. Cover that does not match the exposure
Footings cast against earth, exterior walls and interior slabs all need different cover. When a detailer applies one value everywhere, bars end up too close to the surface in some elements and the inspector stops the pour. How to catch it: list the cover for each exposure from the general notes and check bending dimensions against it.
2. Lap lengths that ignore the splice table
Using one lap length for every bar size, or forgetting the top-bar or epoxy factors, produces laps that are too short. How to catch it: check laps against the project’s splice table bar size by bar size. Our guide on how lap length is set explains what to look for.
3. Bars that do not fit at congested joints
A beam-column joint can be correct bar by bar and impossible to build as a whole. Hooks clash, bars collide and there is no room for the concrete to flow. How to catch it: draw congested joints at large scale or model them in 3D before releasing the pour.
4. Conflicts with embeds, sleeves and anchor bolts
Reinforcement is often detailed before MEP sleeves, embed plates and anchor bolts are final. The result is bars that run right through an opening. How to catch it: overlay the latest embed and sleeve drawings, or coordinate inside the BIM model with the other trades.
5. Quantities that do not match the spacing
A wall 20 feet long with bars at 12 inches needs a specific number of bars, plus one. Off-by-one errors and wrong element lengths lead to shortages on site. How to catch it: recalculate quantities for a sample of elements in every pour.
6. Bar marks that change between drawing and list
When the placing drawing calls a bar one mark and the bar list calls it another, the shop makes one thing and the crew looks for another. How to catch it: cross-check every mark between the drawings and the rebar bar list for the pour.
7. Ignoring the pour sequence
A package organized by drawing sheet instead of by pour forces the crew to search through bundles and often leaves dowels or starter bars out of the first pour. How to catch it: agree on the pour breaks with the contractor before detailing and release steel in that order.
8. Revisions that never reach the field
A design change answered in an RFI but not clouded on the drawings means somebody builds from the old version. How to catch it: cloud every change, update the revision number and keep a change log with every issue.
9. Bending dimensions that cannot be fabricated
Shapes with legs shorter than the bending machine allows, or special shapes without full dimensions, come back from the shop as questions. How to catch it: use standard shapes from the CRSI Manual of Standard Practice whenever possible and dimension every special shape.
A review checklist you can reuse
| Check | Against |
|---|---|
| Cover by element | General notes and exposure |
| Lap and hook lengths | Project splice table |
| Congested joints | Large-scale sections or 3D model |
| Openings, sleeves and embeds | Latest MEP and embed drawings |
| Quantities | Spacing and element length |
| Bar marks | Placing drawings vs bar lists |
| Pour breaks | Contractor’s pour sequence |
| Revisions | RFI log and change log |
Why a second checker matters
After hours inside a package, the person who drew it stops seeing its errors. A checker who did not draw the sheets reads them the way the shop and the crew will. It is the single most effective quality step in rebar detailing, and it is part of how our team works on every package of reinforcing steel detailing for U.S. projects.
For the bigger picture of how a package is put together, from input review to release, see our step-by-step rebar detailing process.
Frequently Asked Questions
What is the most common rebar detailing mistake?
Coordination errors, such as bars running through sleeves or embeds and joints too congested to build, are the most frequent and the most costly to fix in the field.
Who is responsible for rebar detailing errors?
Usually the fabricator who owns the detailing scope. The Engineer of Record reviews for conformance with the design but does not check every dimension.
How can contractors reduce rebar detailing mistakes?
Agree on the pour sequence early, send updated embed and sleeve drawings, answer RFIs quickly and ask for a checked, revision-controlled package.
Does 3D rebar modeling prevent mistakes?
It helps a lot with congestion and conflicts with other trades, and it keeps drawings and bar lists in sync. It still needs a careful checker.
When should rebar shop drawings be checked?
Before submittal, by a checker who did not draw them, and again after any design change or RFI response that affects the pour.